Installation instructions on to a rock wall
The Tulppa panels are attached to a firm rock wall using adhesive mortar. The rock wall is cleaned from loose matter and dust and moistened thoroughly using a cloth or sponge. Tiling mortar from the chosen product range that has been tested to be compatible with Tulppa panels is used to mount the panels.
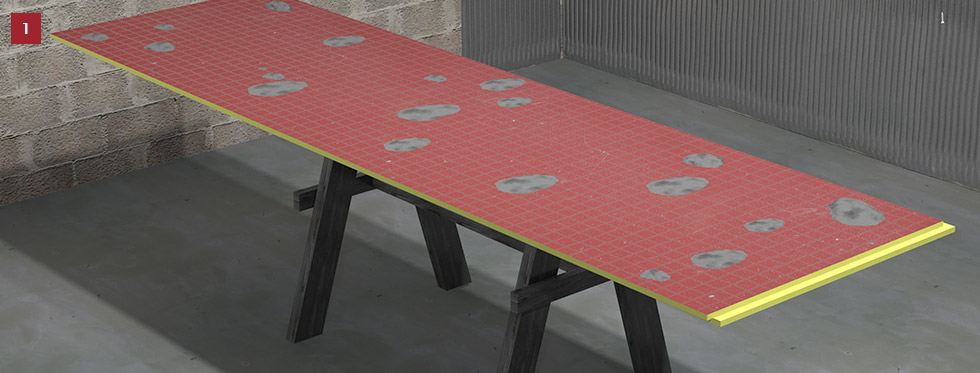
If the rock wall is flat and straight, the mortar can be spread on the wall using a trowel with semicircular notching of at least 8 mm. The panels must be pressed immediately on to the fresh mortar. If the wall is uneven, use spot fastening. Apply the mortar as small piles in at least 15–20 spots spread evenly across the panel. Next, press the panel firmly against the wall with the help of a board and rubber mallet and use a spirit level to ensure that the panel is straight. If the spot fastening requires significant amounts of additional mortar, secure the panel using Tulppa O brackets (with a 100 mm screw) over the largest pile of mortar after it has dried and waterproof/tape over the brackets. Tulppa wet room panels can also be used as filler or support pieces here and there for walls that require a thicker layer of mortar.
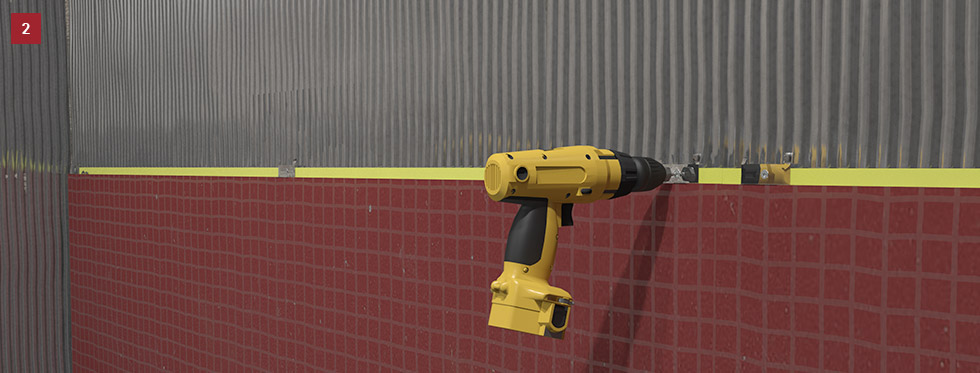
If the mortar is too dry, adhesion will be weakened. The fastening can be secured with Tulppa O brackets placed at the ends of the panel and in the middle. If you do not want to use the brackets, it is important to support the panels (by propping against the opposite wall, for example) until the mortar has dried to prevent them from shifting. All seams, passages, and the intersection of the floor and the wall are sealed similarly to beam frames.
Perform the sealing and waterproofing in accordance with the rabbeted Tulppa wet room panel installation instructions for timber or metal frames.

