Products used in the Tulppa® system
The components of the Tulppa system provided by Finnfoam Oy include:
- Horizontally installed rabbeted 20, 30, 50, and 80 mm thick Tulppa wet room panels
- Flat-edged 12.5 mm thick Tulppa wet room panel
- Tulppa Z and O special brackets for attaching the panels
- Spacers used for sheet metal element walls.
- Wall-mounted toilet enclosure panel
In addition, Finnfoam’s range of products also includes pre-sloped and pre-cut panels for the Tulppa flooring system, which can be used to easily provide the necessary slope for wet room floors. Read more about the Tulppa flooring system!
In addition to the products mentioned above, the Tulppa wet room system also includes the mortar used to attach tiles, adhesive compounds, and inlet cuffs, for example. At the moment, Ardex, Casco, Schönox, Kiilto, Weber, and Fescon offer products that are compatible with Tulppa wet room panels. Read more about our systems here!
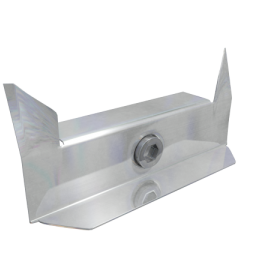
Tulppa Z bracket
• With rabbet edged panels: 4 brackets per m2
A special bracket that is used to attach the Tulppa panel to the below surface at the panel joint. The “claws” of the Z bracket make it easier to install the next panel and keep it in place until the adhesive paste used for the installation hardens. The bracket is made from stainless steel and is also available with self-tapping screws.

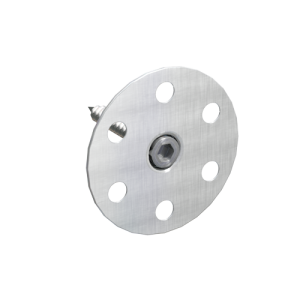
Tulppa O bracket
• With rabbet edged panels: 1 bracket per m2 • With flat-edged panels: 5–6 brackets per m2
Used for attaching the lower edge of a panel and for possible inlet and support attachments around sink brackets, for example. The bracket is made from stainless steel and is available with 50 and 100 mm screws as well as self-tapping screws.

Spacers
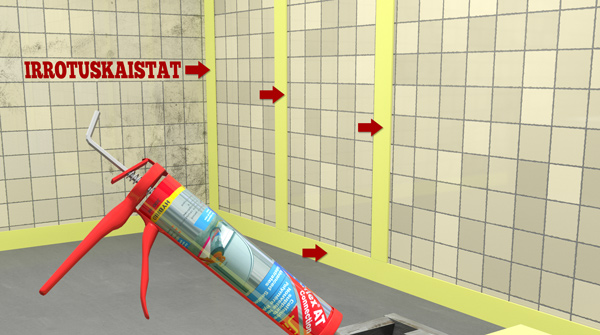
Two layers of waterproofing should never be installed on top of each other, which is why spacers must be used with sheet metal element walls to provide ventilation. The spacers are made from Finnfoam and their dimensions are 6 x 100 x 2,500 mm. The spacers consist of the same material as the core of the Tulppa panels. The spacers are laid vertically as a skeleton with an on-center spacing of 600 mm (K600) and against the floor for “downstream”.
If you want to use horizontal spacers above the floor level, it is necessary to include vertical ventilation gaps. The reason for this is that the ventilation gap behind the Tulppa panels is ventilated into the ceiling space, i.e. above the dropped ceiling. In this case, a few holes are also drilled down into the existing wall between each vertical line of spacers to ensure ventilation. If the ceiling space is not ventilated or the space does not exist, two 10 mm ø holes spaced 200–300 mm apart must be drilled into each space between the studding at approximately 400 mm intervals. Read more about the installation instructions here.
